Monday, September 30, 2013

Ghee - Making at Home

Making ghee at home is a simple process of melting the butter and clarifying it. It gives satisfaction to me when I use my home made ghee for cooking and for kids.

Ingredients:

  • Unsalted Butter -  8 Oz

Procedure:
  • Heat a sauce pan on medium heat. Put unsalted butter in it.


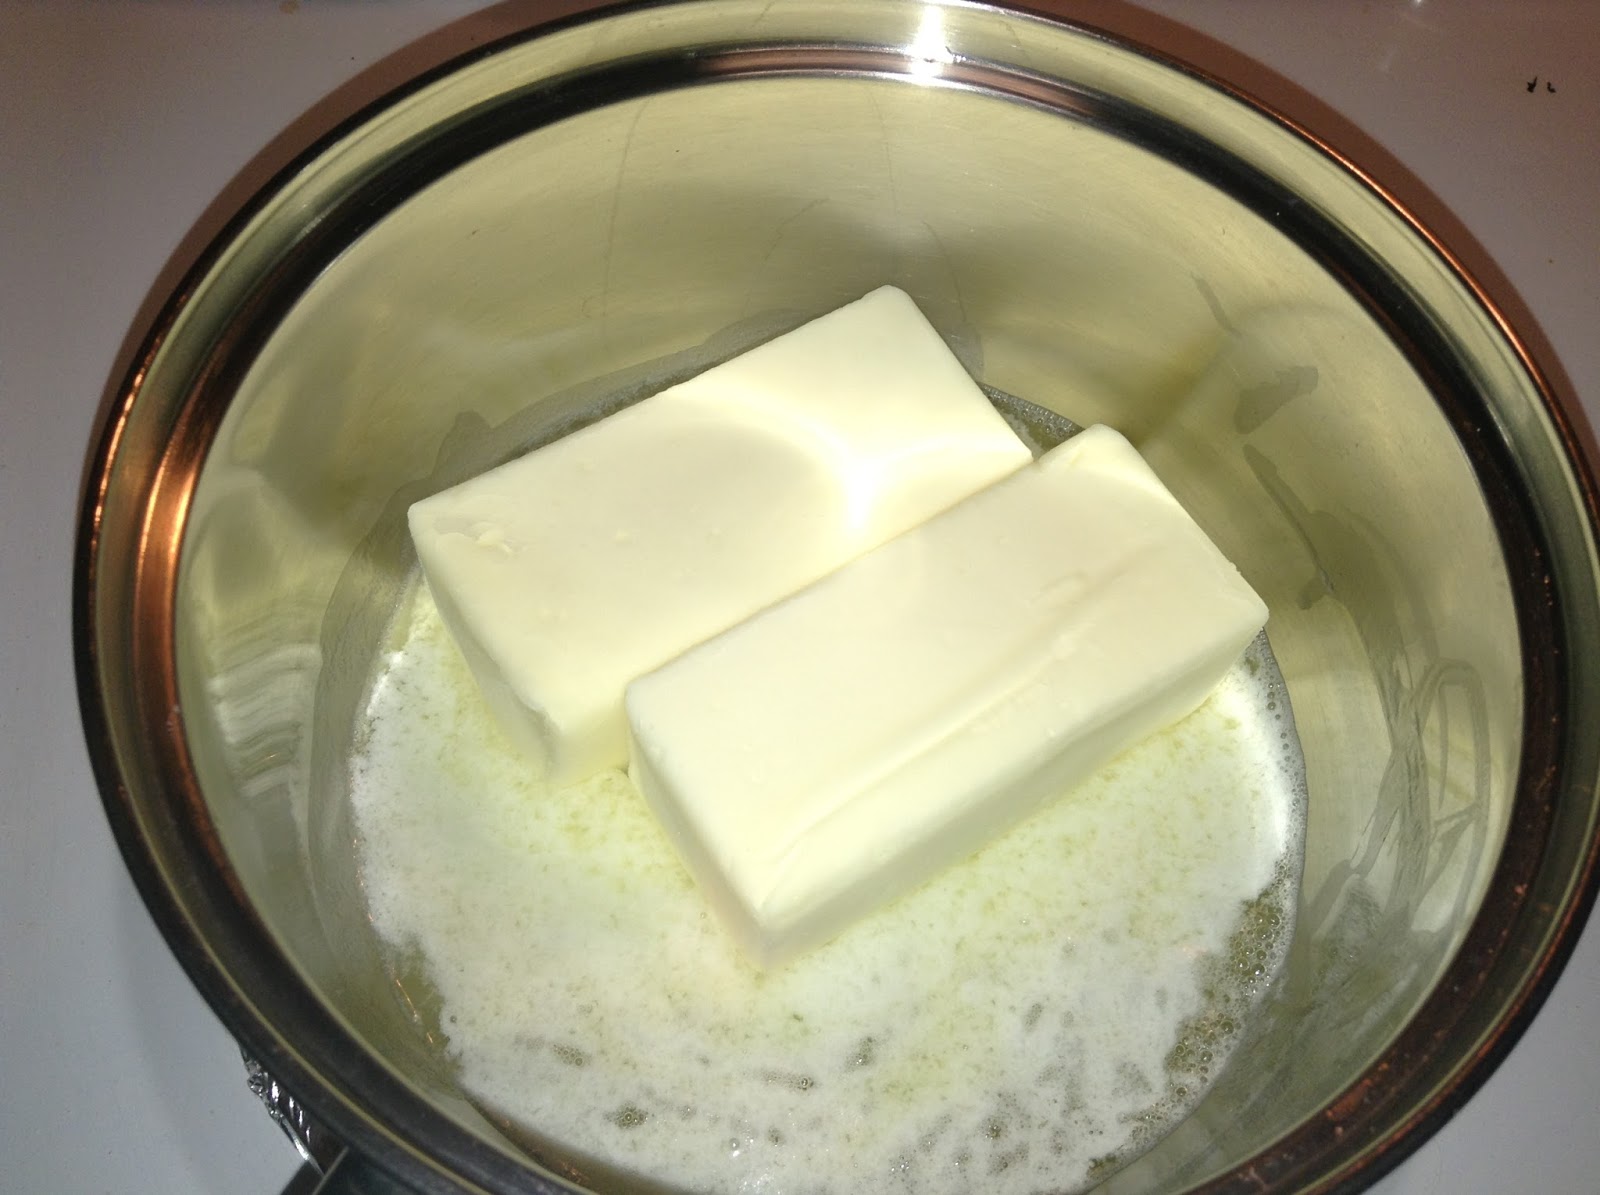
  • Let it melt and boil. Bubble layer is formed with full sizzling sound, because of the water content in it. Stir it occasionally.

  • Once you hear the sizzling sound is going low, reduce the heat and watch carefully for a clear layer of bubble. 

  • Now you see all the sizzling sound is gone and rest is the clarified butter. Let the mava(a creamy residue) turns to golden brown and remove it from the stove.  The below picture shows the clear bubbles and mava turning golden brown.

  • Let it cools down.


  • Filter the residue and store the ghee in a fresh dry bottle. Make sure the ghee is cold enough to close the lid.


  • Now what to do with the residue? Its going to be an yummy sweet. Just add some brown sugar(Jaggery) if desirable, add a pinch of cardamom powder and mix.


  • Eat..., oh no....wait.., just share and taste it.. hhhmmmm... yummm..


Chilli Gobi / Cauliflower Fritters

My mom makes chilli gobi with wheat flour rather than besan (Chick peas flour). Also she cooks it by shallow frying instead of deep frying. Tastes really yumm yumm and less gassy because of the besan substitute.. I follow the same recipe at our home.

Ingredients:

Cauliflower - 1
Wheat flour - 1 cup
Water - necessary to make dip
Oil - for shallow frying
Chilli Powder - 2 tsp (as much as hot you want)
Salt - 1 tsp (to taste)

Procedure:


  • Cut cauliflower into small florets and clean it with hot water.

  • Use a wide open pan. Pour oil up to 1/4 of the pan height. Heat oil.
  • While oil is getting heated up, mix wheat flour, salt, chilli powder with water and make it as thick flowing consistency batter. Not watery. not too thick.


  • When the oil is hot enough, Just cover each florets with the batter and shallow fry them in oil. While dipping the florets, it need to be entirely cover with the batter.


  • Flip the florets when one side is all cooked.


  • When they are done, drain them in a paper towel for excess oil. and serve with green chutney, or onion, which helps digest the oil. Enjoy your chilli gobi.


Pakarkai Poriyal / Bitter Gourd Stir Fry

   Bitter Gourd, as the name itself says its bitter, its hard for many of us to add that in our meal. So how to make kids eat them? How do we make it delicious and healthy, for who are diabetic? Bitter gourd, not only helps in lowering blood glucose, but also helps from some non-communicable diseases. Its proven to help in treating cancer. Apart from that, its shown that it reduces hypertension. Also it helps weight loss. Oh, ya.. here we come to yumm bitter gourd stir fry recipe. My kids love to eat them like this.

Ingredients:

Bitter gourd - medium size 4 nos.
Oil - 4-5 tsp
Chilli powder - 1 tsp or to your taste
Salt - to taste


Procedure:

  • Clean bitter gourd and cut them lengthwise. Remove seeds, its easy to remove when you slit them lengthwise. Cut into small semi-circles.... 


  • In a wide pan, coat a layer of oil, heating it. Please maintain low medium heat. Add the cut bitter gourd pieces.


  • Stir them once, so that every piece of vegetable is coated with oil. 


  • This is how it looks like after 5 min.


  • Stir them for every 5 min(now total 10 min in pan)


  • At this time, in another 5 min sprinkle salt. Since the salt fastens the cooking, reduce the heat some more, because, it should not burn the vegetable. If necessary add oil as required., may be a teaspoon or two.

  • In another 5 min stir them again check whether its done.. At this stage its ok to taste them.. I would like to cook further for another 5 min, so it will become crispy.


  • Finally add chilli powder to taste and toss them, after switching off the heat, since chilli powder will burn in that heat.
  • Aaha, its read to eat crispy..


Tip: 

This recipe would take 25-30 minutes to cook in medium low heat.. So just start your meal cooking with this bitter gourd first. When its getting cooked, we can take care of other recipes too.

Rava Dosa

One of the instant tifin variety is rava dosa. If I didn't plan for our dinner tifin or breakfast, this rava dosa could be the simplest and the best option, with a chutney. Usually in rava dosa, restaurant people and other chefs use all purpose flour/maida. I replace that with healthy wheat flour. As I thought, more tastier and healthier this way.

Ingredients:


Rava / Samolina - 2 cup
Wheat - 1/2 cup
Rice flour - 1/2 cup
Water - for mixing consistency
Salt - to taste
Cumin seeds - 2 tsp
Black pepper - 1 tsp
Curry Leaves - 1 stem chopped
Coriander - few chopped
Green chillies - 3 nos. (Optional / could be added up to your taste)
Oil - for making dosas


Procedure:
  • Mix wheat flour, rice flour and samolina in a mixing bowl with all the above said ingredients up to watery consistency, without lumps..

  • Heat dosa pan, preferably bigger size with handle, in high medium heat.
  • The key here, is, when the pan is hot enough, pour a scoop of batter in one hand and with the other hand make the batter spread all over the pan by making some twist and turns., which creates small little little holes, the texture of rava dosa. If necessary add another scoop of batter too. I usually use two scoops or little more for making one rava dosa. Its not heavy like other dosa varieties since its watery.
  • Drip a tsp of oil all around and on the dosa.
  • Wait for a minute or two., it takes little longer than normal rice dosa.

  • Once you see light brown around the edges and around the holes, use a spatula to turn the other side. Let it be for half a minute.

  • And your rava dosa is ready to serve with sambar, chutney or of your choice.


Tip: Use a dosa pan with handle to twist and turn. Make sure the batter is watery. You will get the texture on little practice.

Hints: We can make variety in rava dosa such as by adding finely chopped onion to the dosa on the pan; adding shredded carrots makes a difference; Adding potato stuffing on the pan makes rava masala dosa; spreading hot tomato-onion chutney to the dosa on pan makes mysore rava dosa and so on..

Ragi Dosa

Ragi, an old world food, is rich in fiber that absorbs cholesterol and helps secretion of bile, that aids in emulsification, digestion and absorption of fat.
Ragi Dosa makes a good breakfast, even for weight watchers,  and a diabetic diet.
We can prepare simply the Ragi Dosa by mixing the ragi flour with water for dosa batter consistency and some salt to taste. But I prefer it good with urad dhal(black/white lentil) since it adds more health value such as helping in good digestion, a protein source, boosts heart health and provides high energy.


Ingredients:

Dry Ragi Flour - 4 cups
Urad dhal - 1 cup
Methi (Fenu greek) seeds - a fistful (Optional)
Salt - 3 tsp (If necessary, add it before preparing dosa)
Water - to required consistency


Procedure:
  • Soak Urad dhal and methi seeds for atleast half an hour, if you are using a wet grinder to grind it. Otherwise, let it soak for atleast 3 hrs, if you are using a mixer grinder to grind it.
  • When the dhal is ready for grinding, in a batter mixing bowl, add ragi flour and water. mix them well without lumps and to a batter consistency. Not watery.

  • Wash dhal and grind till fluffy.

  • Add ground dhal to ragi batter.
  • Add some salt and mix them.

  • Cover it and keep it aside for fermentation (could take 8 hrs). I used to put it in the oven with the oven light switched ON, since the fermentation process needs wright temperature. Even in winter, it will be done.,
  • When the batter is fermented, it looks more fluffy, filled with air inside, which gives good crispy dosas.

  • Prepare Dosa as usual.


 Tips:
  • If urad dhal is not been used, ragi dosa can be prepared instantly, by mixing water to batter consistency and adding required salt to taste.
  • Ragi Dosa tastes good with potato chutney, brinjal(egg plant) chutey mainly.. This is my favorite combination, since my grandma and mother used to serve us more often with these combinations.  Also can be served with tomato chutney, coconut chutney, sambar, or other curry/kulambu varieties..
  • Kids would love to eat crispy ones..

Kadai Paneer

I was expecting a guest for a dinner.Thought of making it simple and quick curry, of course yummy...
I opened the fridge and checked, there comes my idea when I saw the bell peppers and my home made paneer..

Ingredients:

Bell Pepper Green-2 no.
Bell Pepper Red-1 no.
Onion- small size 1 no.
Paneer-7 Oz
Tomato-3 medium sized
Green chillies-3 nos.
Ginger- 2 tsp Shredded
Coriander powder-1 1/2 tsp
Cumin Powder-1 tsp
Chilli Powder-1 tsp(According to your taste)
Garam Masala-1/2 tsp
Turmeric Powder-1/2 tsp
Cashew nuts- few(Optional)
Salt-to taste
Oil-to saute


Procedure:

  • Cut onion, bell peppers into equal medium sized cubes and saute them in Oil, separately and keep them aside


  •  While the peppers are sauteing, cut tomatoes and grind them in a mixer.
  • Also cut the paneer in to same size cubes and put them in a hot water mixed with salt.


  •  Saute cut chillies, ginger and the tomato juice in little oil, till it leaves out raw smell. Add some salt when you saute them, since it makes the cooking process fast. 
  • Add turmeric powder, cumin powder, coriander powder, chilli powder, garam masala powder. let it cook for 2  min.
  • Also add the saute onion, and bell pepper and cook them with little water. Add water according to the consistency you want, like..it can be served dry or little gravy. Check for salt. Add cashew nuts.


  • Add Paneer cubes at the last, before a minute or 2. 


You are done making a delicious dish..